Manage a Hugo Blog in Obsidian
This is based on NetworkChucks Insane Blog Pipeline, with some changes to the images.py file (search sub-folders) and the mega script (does not require to build locally)
Obsidian Setup#
- Download Obsidian & Setup a Vault
- Create a new folder labeled Blog
- Under the Blog folder, create the following folders
- posts (This is where you will add your blog posts)
- about (About Me page)
- Any other pages you want in the Menu, do the same
- Under the Blog folder, create the following folders
- In the about folder create a new note called index
Hugo Setup#
Install Prerequisites#
I use Ubuntu, If using a different distro, you will need to use your distos commands instead of apt
Install Git / Go / python3
sudo apt install git golang python3
Or get the latest Go binary from Go
Install Hugo
Don’t install the version from the Ubuntu Repositories as it is extremely old, see here or Follow these commands
wget https://github.com/gohugoio/hugo/releases/download/v0.147.7/hugo_extended_0.147.7_linux-amd64.deb
sudo dpkg -i hugo_extended_0.147.7_linux-amd64.deb
Create a new site in Hugo
hugo new site <name>
cd <name>
Download a Hugo Theme
I use the Hugo Terminal Theme
## Initialize a git repository (Make sure you are in your Hugo website directory)

git init

## Set global username and email parameters for git

git config --global user.name "Your Name"
git config --global user.email "[email protected]"


## Install a theme (we are installing the Terminal theme here). Once downloaded it should be in your Hugo themes folder
## Find a theme ---> https://themes.gohugo.io/

git submodule add -f https://github.com/panr/hugo-theme-terminal.git themes/terminal
Adjust Hugo’s settings
- Most themes you download will have an example configuration you can use. This is usually the best way to make sure Hugo works well and out of the box.
- For the Terminal theme, they gave this example config below.
- We will edit the hugo.toml file to make these changes. —->
nano hugo.tomlYou can find the latest version of the config file in the Repository
Theme Config
baseurl = "/"
languageCode = "en-us"
# Add it only if you keep the theme in the `themes` directory.
# Remove it if you use the theme as a remote Hugo Module.
theme = "terminal"
paginate = 5

[params]
  # dir name of your main content (default is `content/posts`).
  # the list of set content will show up on your index page (baseurl).
  contentTypeName = "posts"

  # if you set this to 0, only submenu trigger will be visible
  showMenuItems = 2

  # show selector to switch language
  showLanguageSelector = false

  # set theme to full screen width
  fullWidthTheme = false

  # center theme with default width
  centerTheme = false

  # if your resource directory contains an image called `cover.(jpg|png|webp)`,
  # then the file will be used as a cover automatically.
  # With this option you don't have to put the `cover` param in a front-matter.
  autoCover = true

  # set post to show the last updated
  # If you use git, you can set `enableGitInfo` to `true` and then post will automatically get the last updated
  showLastUpdated = false

  # Provide a string as a prefix for the last update date. By default, it looks like this: 2020-xx-xx [Updated: 2020-xx-xx] :: Author
  # updatedDatePrefix = "Updated"

  # whether to show a page's estimated reading time
  # readingTime = false # default

  # whether to show a table of contents
  # can be overridden in a page's front-matter
  # Toc = false # default

  # set title for the table of contents
  # can be overridden in a page's front-matter
  # TocTitle = "Table of Contents" # default


[params.twitter]
  # set Twitter handles for Twitter cards
  # see https://developer.twitter.com/en/docs/tweets/optimize-with-cards/guides/getting-started#card-and-content-attribution
  # do not include @
  creator = ""
  site = ""

[languages]
  [languages.en]
    languageName = "English"
    title = "Terminal"

    [languages.en.params]
      subtitle = "A simple, retro theme for Hugo"
      owner = ""
      keywords = ""
      copyright = ""
      menuMore = "Show more"
      readMore = "Read more"
      readOtherPosts = "Read other posts"
      newerPosts = "Newer posts"
      olderPosts = "Older posts"
      missingContentMessage = "Page not found..."
      missingBackButtonLabel = "Back to home page"
      minuteReadingTime = "min read"
      words = "words"

      [languages.en.params.logo]
        logoText = "Terminal"
        logoHomeLink = "/"

      [languages.en.menu]
        [[languages.en.menu.main]]
          identifier = "about"
          name = "About"
          url = "/about"
        [[languages.en.menu.main]]
          identifier = "showcase"
          name = "Showcase"
          url = "/showcase"
You can change the Menu Layout, by making changes to the code above, Add more items, Just add them and add a folder, and index file as per the above Obsidian Setup
Test Hugo Install
hugo server -t terminal
Walking Through the Steps#
Syncing Obsidian To Hugo
rsync -av --delete "sourcepath" "destinationpath"
Obsidian Templates
How to setup templates Templates - obsidian.md
Create a Templates and a Blog File, paste the following
---
title: "{{Title}}"
description:
date: "{{date:YYYY-MM-DD}}T{{time:HH:mm:ss}}+00:00"
draft: true
tags:
  - tag1
  - tag2
---
Transfer Images to Hugo
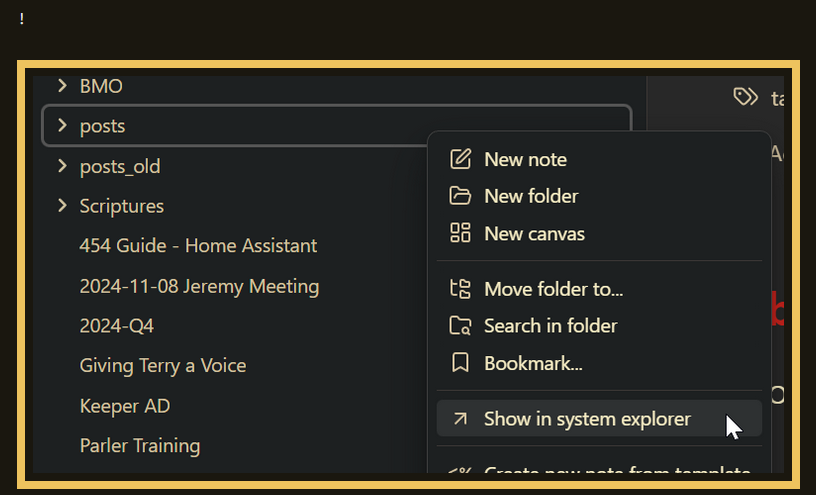
This script is based off NetworkChucks, but i changed the code as a ! showed up above the images on the blog post, see below image
markdown_image = f"})"
Create a file called images.py and paste the following code, change the paths to your own
The script, will look in sub-folders of content/posts so you can have dated posts / categories or just leave everything in the root
import os
import re
import shutil

posts_dir = "/link/to/blog/content/posts/"
attachments_dir = "/link/to/obsidian/Attachments/"
static_images_dir = "/link/to/blog/static/images/"

# Step 1: Process each markdown file in the posts directory and its subdirectories
for root, _, files in os.walk(posts_dir):
    for filename in files:
        if filename.endswith(".md"):
            filepath = os.path.join(root, filename)

            with open(filepath, "r", encoding="utf-8") as file:
                content = file.read()

            # Step 2: Find all image links in the format [Image Description](/images/image.png)
            images = re.findall(r'\[\[([^]]*\.png)\]\]', content)

            # Step 3: Replace image links and ensure URLs are correctly formatted
            for image in images:
                # Prepare the Markdown-compatible link with %20 replacing spaces
                markdown_image = f"[Image Description](/images/{image.replace(' ', '%20')})"
                content = content.replace(f"[[{image}]]", markdown_image)

                # Step 4: Copy the image to the Hugo static/images directory if it exists
                image_source = os.path.join(attachments_dir, image)
                if os.path.exists(image_source):
                    shutil.copy(image_source, static_images_dir)

            # Step 5: Write the updated content back to the markdown file
            with open(filepath, "w", encoding="utf-8") as file:
                file.write(content)

print("Markdown files processed and images copied successfully.")
Github Setup
- If you don’t have a Github Account, create one
- Create a repo
- Generate a keypair
ssh-keygen -t rsa -b 4096 -C "[email protected]" - Upload the .pub keyfile to Github
- Add git repo
git remote add "origin" [email protected]:User/UserRepo.git - Push to repo
git push -u origin main
Script
This script is based off NetworkChucks, with some changes, as Hugo does not need to be built locally, Cloudflare will do that
#!/bin/bash
set -euo pipefail

# Change to the script's directory
SCRIPT_DIR="$(cd "$(dirname "${BASH_SOURCE[0]}")" && pwd)"
cd "$SCRIPT_DIR"

# Set variables for Obsidian to Hugo copy
sourcePath="/link/to/obsidian/Blog/."
destinationPath="/link/to/blog/content/"

# Set GitHub Repo
myrepo="[email protected]:User/UserRepo.git"

# Check for required commands
for cmd in git rsync python3 hugo; do
    if ! command -v $cmd &> /dev/null; then
        echo "$cmd is not installed or not in PATH."
        exit 1
    fi
done

# Step 1: Check if Git is initialized, and initialize if necessary
if [ ! -d ".git" ]; then
    echo "Initializing Git repository..."
    git init
    git remote add origin $myrepo
else
    echo "Git repository already initialized."
    if ! git remote | grep -q 'origin'; then
        echo "Adding remote origin..."
        git remote add origin $myrepo
    fi
fi

# Step 2: Sync posts from Obsidian to Hugo content folder using rsync
echo "Syncing posts from Obsidian..."

if [ ! -d "$sourcePath" ]; then
    echo "Source path does not exist: $sourcePath"
    exit 1
fi

if [ ! -d "$destinationPath" ]; then
    echo "Destination path does not exist: $destinationPath"
    exit 1
fi

rsync -av --delete "$sourcePath" "$destinationPath"

# Step 3: Process Markdown files with Python script to handle image links
echo "Processing image links in Markdown files..."
if [ ! -f "images.py" ]; then
    echo "Python script images.py not found."
    exit 1
fi

if ! python3 images.py; then
    echo "Failed to process image links."
    exit 1
fi

# Step 4: Add changes to Git
echo "Staging changes for Git..."
if git diff --quiet && git diff --cached --quiet; then
    echo "No changes to stage."
else
    git add .
fi

# Step 5: Commit changes with a dynamic message
commit_message="New Blog Post on $(date +'%Y-%m-%d %H:%M:%S')"
if git diff --cached --quiet; then
    echo "No changes to commit."
else
    echo "Committing changes..."
    git commit -m "$commit_message"
fi

# Step 6: Push all changes to the main branch
echo "Deploying to GitHub Main..."
if ! git push origin main; then
    echo "Failed to push to main branch."
    exit 1
fi

echo "All done! Site synced, processed, committed, built, and deployed."
Make sure sync.sh & images.py are in the Blog root directory and run ./sync.sh
Follow Cloudflare’s Instructions On how to deploy to Cloudflare Pages
Souces:
- NetworkChuck: https://blog.networkchuck.com/posts/my-insane-blog-pipeline/
- 4rkal’s Dev Blog: https://4rkal.com/posts/obsidianhugo/